Restic 是一個跨平台的開源(Open source)增量備份工具,可以用來備份各種檔案。除了本地外,也可以備份到像是 Amazon S3、Google Cloud Storage 或 Minio 伺服器上。
我以前都是用 Duplicati 進行備份,不過有些資料久久才變化一次,並不需要定期排程,而是需要在每次變更後手動備份,但它的每個版本無法命名(無法像 git commit message),這樣我無法看出各個版本的主要變化到底是什麼(也就是說其實我更需要的是版本控制)。現在嘗試使用 Restic,算是有解決我的問題,用起來覺得滿不錯的。
因為檔案很大(數十上百 GB),因此不適合使用 git。
Restic 基本用法
安裝
安裝方式可以參考官方文件。在 Windows 上的話可以參考這 2 種方式之一:
- 直接下載:
- 從 GitHub Releases 下載執行檔(例如
restic_0.16.3_windows_amd64.zip)。 - 將其解壓縮,並將
.exe執行檔重新命名為restic.exe。 - 建立資料夾
C:/restic/,並將restic.exe複製進去。(此路徑和後續的 Resticprofile 有關) - 修改環境變數,將上述路徑
C:/restic/加入到 PATH 中。
- 從 GitHub Releases 下載執行檔(例如
- 使用 Chocolatey 安裝:
- 執行指令:
choco install restic - 修改環境變數,將安裝路徑加入到 PATH 中。
- 執行指令:
安裝完成後可以打開終端機(例如 PowerShell)測試:
restic version它應該會回覆類似 restic 0.16.3 compiled with go1.21.6 on windows/amd64 這樣的訊息。
操作
官方文件請參考:Restic Documentation — restic 0.16.4 documentation
初始化
Restic 將備份目的地稱為 repo(repository)。首先我們要先建立 repo:
restic -r <repo路徑> init例如我想要把資料備份到 D:\backup\ 下的話則輸入 restic --repo "D:/backup/" init,這樣 backup 就會變成 repo。注意路徑的斜線。-r 用來指定 repo,也可以寫成 --repo。
建立 repo 時會要求建立密碼(不可留空),後續所有操作都會要求輸入密碼。請務必妥善管理此密碼,若遺失的話,你的備份資料將永久失效、不可存取。如果覺得每次都有輸入密碼太麻煩的話,可以設置 RESTIC_PASSWORD 或 RESTIC_PASSWORD_FILE 環境變數,請參考官方文件:How can I specify encryption passwords automatically?。
備份
從來源備份並建立一個快照(Snapshot):
restic -r <repo路徑> backup <來源路徑>另外可以加上 --tag <TAG> 來標記此快照,我就是使用此功能來描述此版本的快照的變更。
列出快照
restic -r <repo路徑> snapshots會列出目前所有的快照,這也是查詢快照 ID 的方式。
還原
restic -r <repo路徑> restore <快照ID> -t <還原路徑>最後一個快照的 ID 也可以用
latest代替。
比較差異
restic -r <repo路徑> diff <快照ID 1> <快照ID 2>刪除快照
restic -r <repo路徑> forget <快照ID>預設之後刪除快照,加上 --prune 的話會刪除未參照的實際檔案。
檢查
restic -r <repo路徑> check查看內部檔案
確認快照內部的檔案:
restic -r <repo路徑> ls <快照ID>它會像 ls 指令一樣,列出檔案結構。
加上 Tag
如果在 backup 階段忘記加上 tag,也可以後續補上。先使用上述的 snapshots 指令查看要加上 tag 的快照 ID 是多少。再來使用:
restic -r <repo路徑> tag --add <TAG> <快照ID>變更密碼
restic -r <repo路徑> key passwdGUI 工具
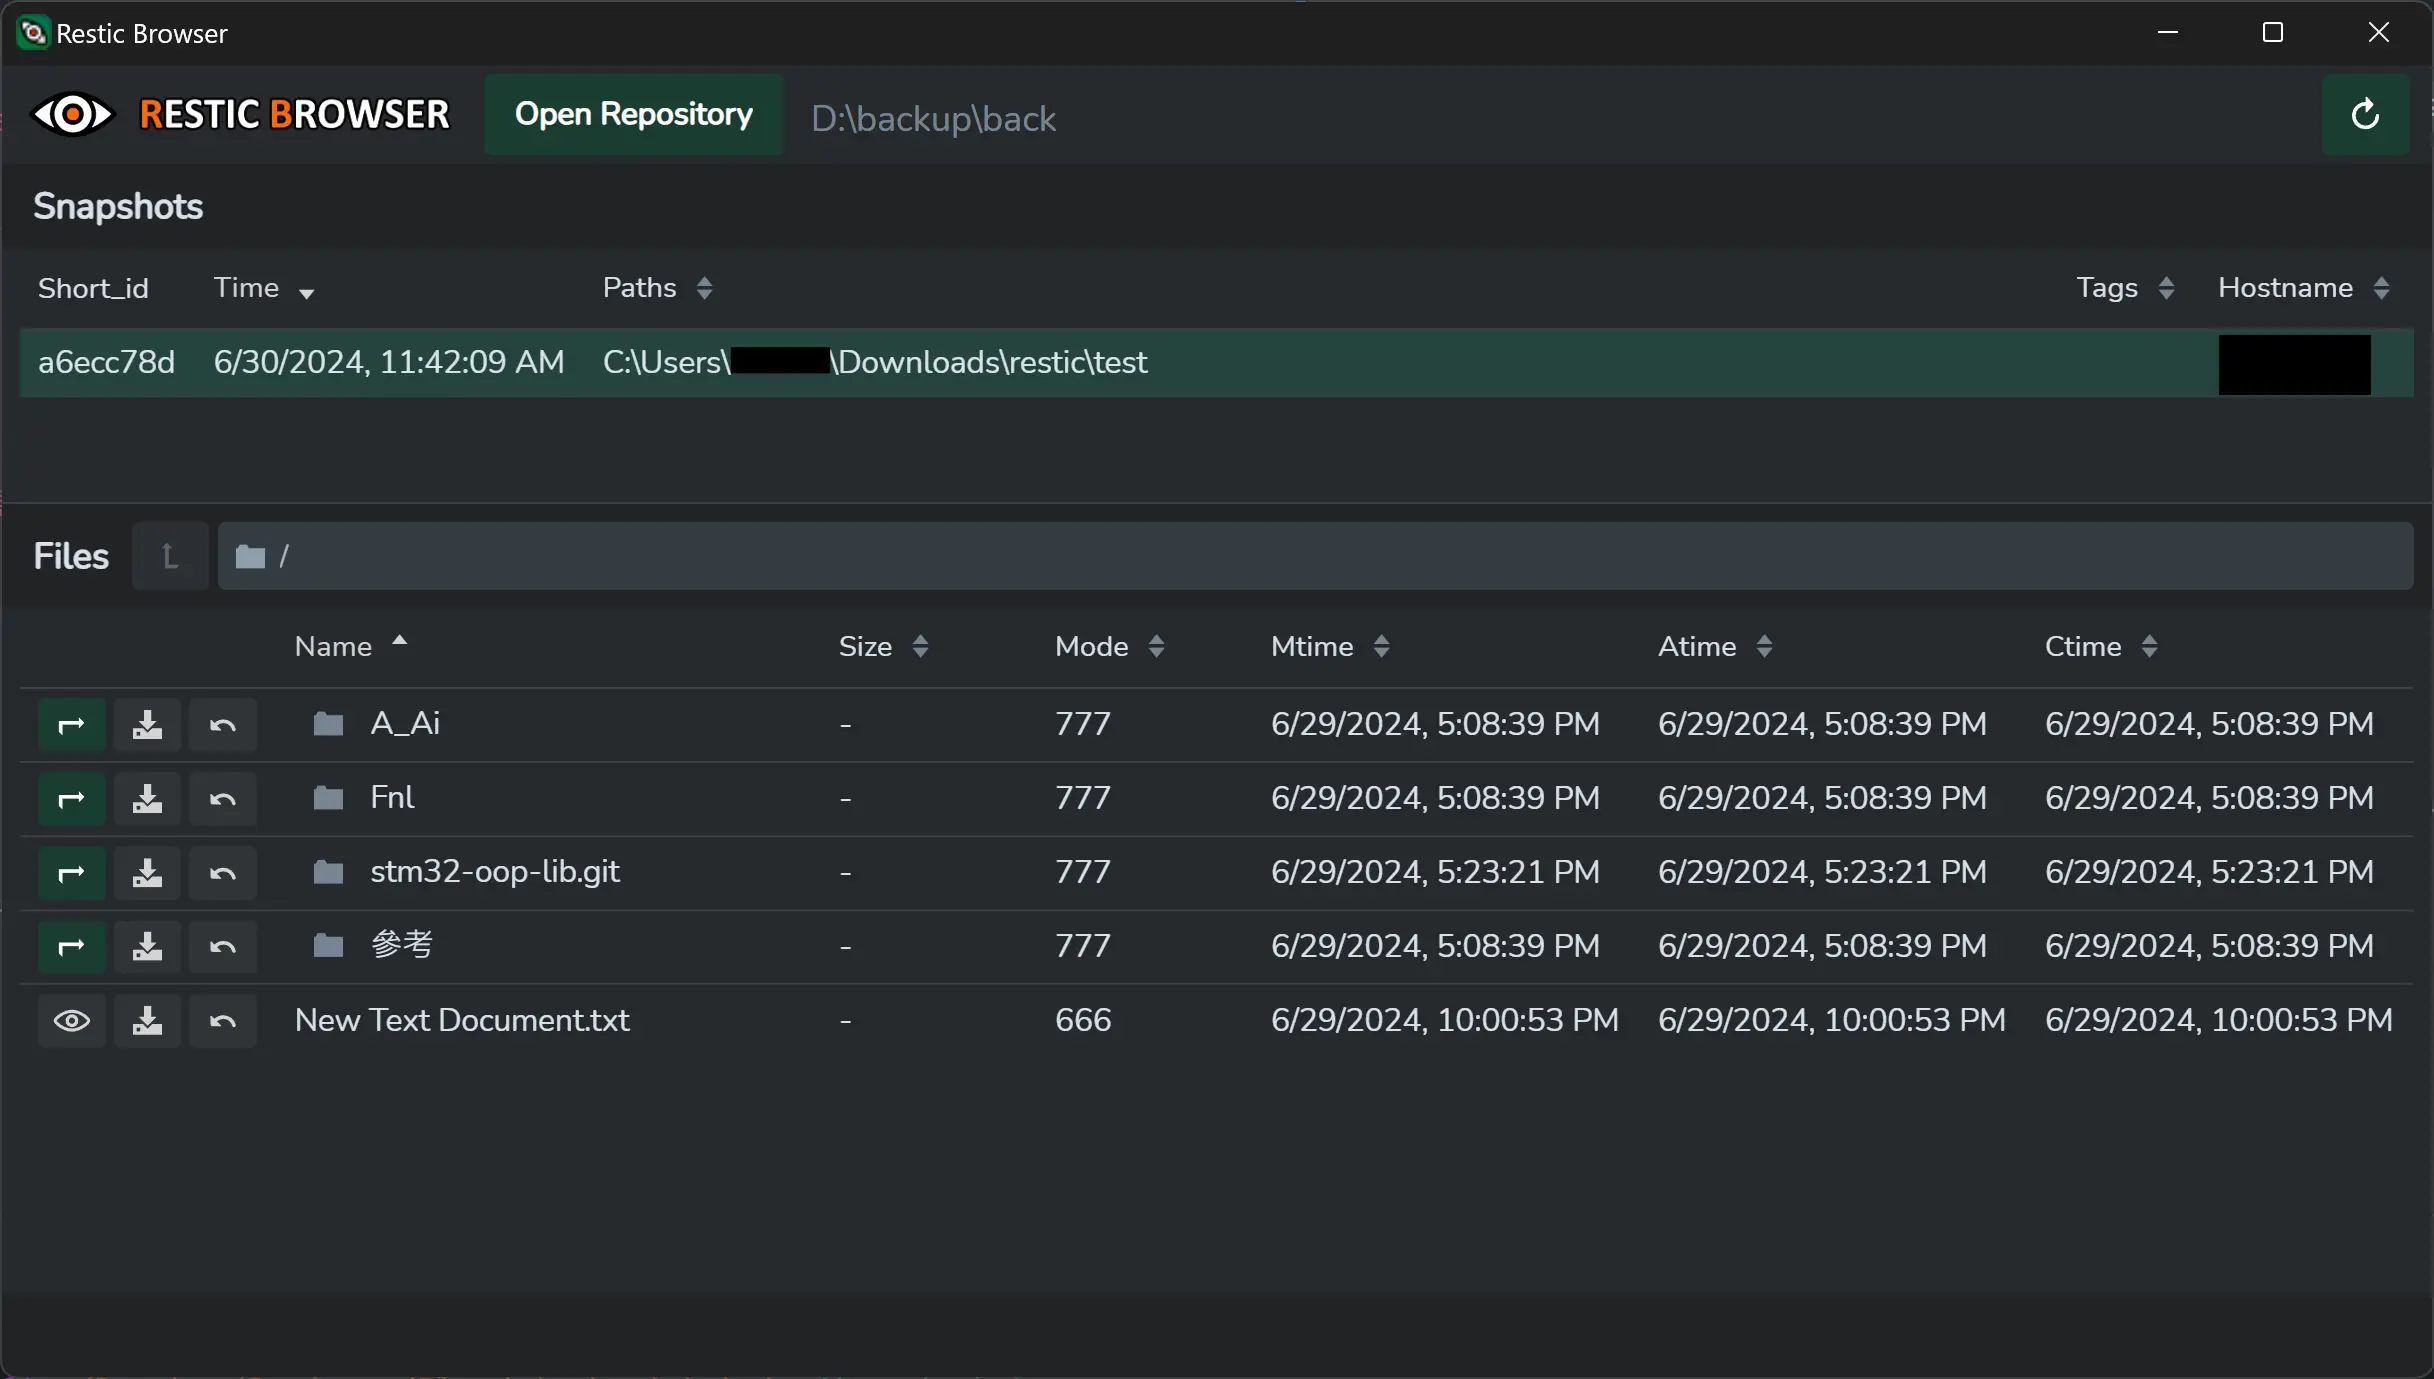
如果常常需要比較各個快照版本的內容的話,可以使用 Restic Browser GUI 工具來輔助。

進階:Resticprofile
單純的 Restic 只能進行備份,並沒有設定檔管理和排程功能等,如果每次要備份都有大一大串難記的路徑的話就太累了,而且備份工作應該要足夠簡單觸發,這樣我們才會勤於備份。為此可以使用 Resticprofile 來達成,它基本上就是一個 Restic 的 wrapper,讓我們可以更方便地使用 Restic 進行備份任務。
安裝
可以參考官方文件進行安裝。我個人是從 GitHub 下載執行檔(例如 resticprofile_0.26.0_windows_amd64.zip),將其解壓縮、重新命名成 resticprofile.exe 後再放到和 restic.exe 相同的路徑。
配置檔案
Resticprofile 的配置檔案預設名稱為 profiles,而副檔名根據你喜歡的格式,可以是:.toml、.yaml、.json、.hcl、conf。以下以 YAML 格式做示範(也就是 profiles.yaml)。
profiles.yaml 可以放在以下路徑:
- 目前所在的目錄
%USERPROFILE%\AppData\Local\C:\ProgramData\C:\restic\C:\resticprofile\%USERPROFILE%\
也可以使用
--config <PROFILES>或-c <PROFILES>手動指定路徑和檔名。
它看起來大概是:
# profiles.yaml
version: "1"

global:
#   restic-binary: "C:/restic/restic.exe"
  priority: normal

default:
  repository: "local:/backup"
  password-file: "password.txt"
  backup:
    source:
      - "/home"
default 就是一個備份配置,這邊是將 repo 路徑設為目前路徑下的 backup,來源是 home。global 可以用來設定全域數值。
再來看另一個例子:
# profiles.yaml
version: "1"

global:
  priority: normal

default:
  repository: "D:/backup/pictures"
  backup:
    check-after: true
    source-relative: true
    source-base: "C:/Users/me/Pictures/"
    source:
      - "."  # 全部

dropbox:
  description: "Dropbox"
  repository: "D:/backup/dropbox"
  backup:
    check-after: true
    source-relative: true
    source-base: "C:/Users/me/Dropbox/"
    source:
      - "Projects"
      - "Temp"
這裡有 2 個備份配置:default 和 dropbox。前者是將 C:/Users/me/Pictures/ 下的所有內容都備份到 D:/backup/pictures;後者是將 C:/Users/me/Dropbox/ 下的 Projects 和 Temp 資料夾備份到 D:/backup/dropbox。
由於啓用了 check-after,所以執行完 backup 後會自動再執行 check。
啓用 source-relative 功能後,repo 的內部目錄就會直接從 source-base 的路徑開始,不會再包含 source-base 本身。所以當你使用 restic -r "D:/backup/dropbox" ls latest 指令查看時,其結果會類似 Projects/file1.txt,而非 C/Users/me/Dropbox/Projects/file1.txt。
Set
base-dirto an absolute path to resolvefilesandlocal:backuprelative to it. Setsource-baseif you need a separate base path for backup sources. When you want to use relative source paths for backup, set thesource-relativeoption. This will change the working directory of therestic backupcommand tosource-baseand will not expandsourceto an absolute path.
要排程的話,使用 schedule 進行設定。詳細的官方文件請參考:Schedule Configuration。
執行
例如我要執行上面的 dropbox 配置,一樣要先 init repo,然後再執行 backup。
resticprofile dropbox.init
resticprofile dropbox.backup
如果你要執行的配置是 default 的話,不用打配置名:
resticprofile init
resticprofile backup
更新日誌
- 2024/09/01
- 增加 Resticprofile 的 profile 檔案可以使用
--config自訂的說明。
- 增加 Resticprofile 的 profile 檔案可以使用